Cityscape
– A projection mapping mini game
5 days
Exhibition design
Teamwork
A 2 minute read
”Hey, we have a big cold warehouse, some round tables, projectors and project mapping software. Make an interactive experience in four days!”
Why?
At the end of the week all creative projects were presented for the public in the facilities for the Wonder Festival. At the same time the software producers of MadMapper sponsored the software to see what we could create.
The task
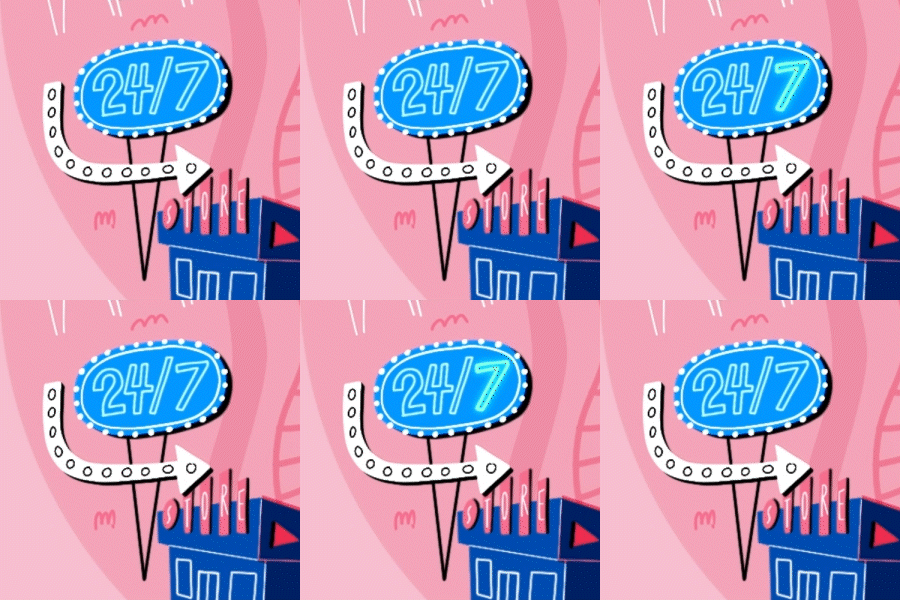
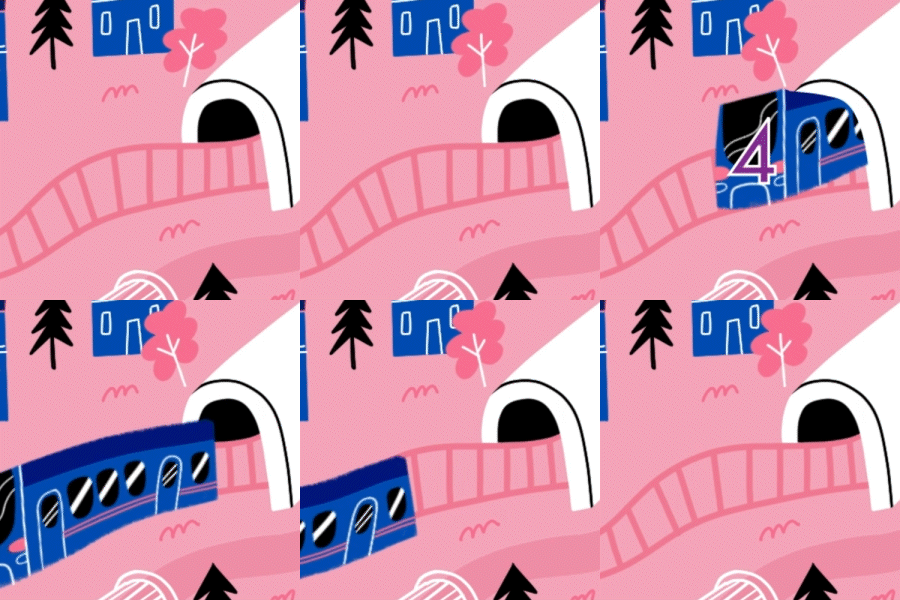
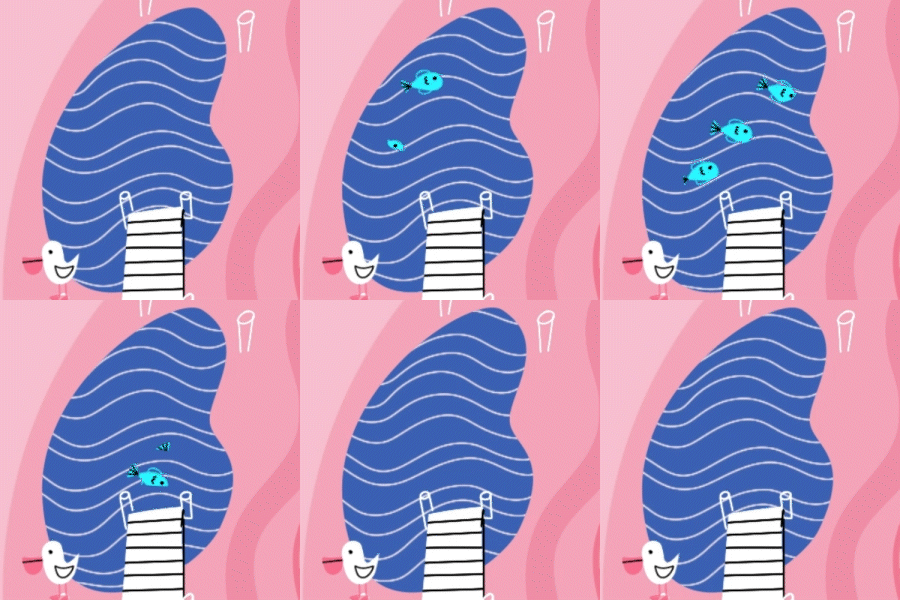
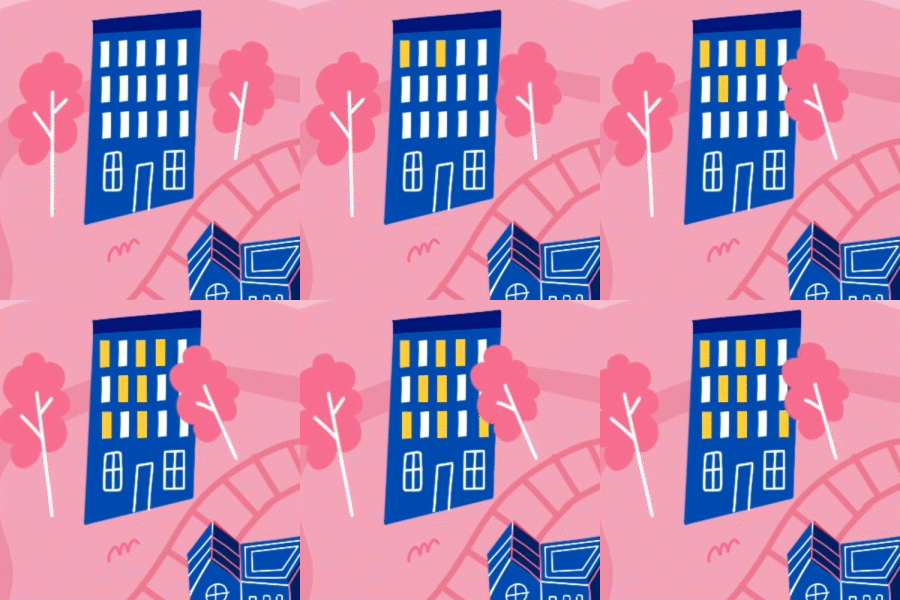
Cityscape is an escaperoom-like minigame. Press the buttons on the table to activate animations in front of you and collect clues. Can you find all the clues to open the safe?
The game is build up of:
– A round table with animations projected on to
– A dashboard with play-doh buttons, to trigger the animations
– An Ipad with the safe to crack + explanation of the story and game
The concept


The table design
Initially, the game consisted of buttons around the table, to encourage co-operation. This idea had to be rejected due to hardware limitations.
A timelimit for the game was also concidered, illustrated with an edge on the table that showed the time remaining, or the city going from day to night.


Buttons


Clues


Inputfields


The colors are a crucial asset for the game, not only for the identity, but also for the game play. Each button, clue and inputfield on the Ipad are connected through the same color.
The buttons on the table and the input fields on the iPad are in the same order, so that the player is not dependent on the colors alone.
Project mapping
With the MadMapper software we could mask the projection to the table, as well as add triggers so that a certain keyboard press would activate a type of animation.
Makey Makey
To avoid having a keyboard in front and to be able to create something interactive with limited development skills, a Makey Makey circuit board became the solution. This way we could create physical buttons from Play-doh that activated the triggers in a more presentable and understandable way.


With HTML, CSS and Javascript we were able to create the necessary screens.
The screen design


Confirmation
The safe
Welcome


How to play
Wrong code
What did I learn?
The presentation was a success, with a lot of happy players!
But, here are some of the lessons learned:
Problems
The confirmation screen was underwhelming, and players had to read before realizing they had won.
When the loading speed was slow, players wanted to press "restart the game" twice, therefor accidentally starting the game for the next player.
Players pressed the buttons so hard that they were destroyed.
Solutions
I added confetti! People will understand quicker visually than by text
By moving the position of the buttons, people would be pressing nothing, if they pressed twice
We wanted to keep costs low by using Play-doh, but we should have put a ball of aluminium foil underneath, this would still conduct electricity
Last but not least I learned:
If you are short on time, but you have good communication in your group and you use each others strengths, then you can get so much done in four days!
Videos
Thanks for taking a look at our work, it was so much fun to make!
If you have time:
here is a little video with some behind the scenes of this project.
Or check out our schools summary video on Instagram

The screens
What did I learn?
